

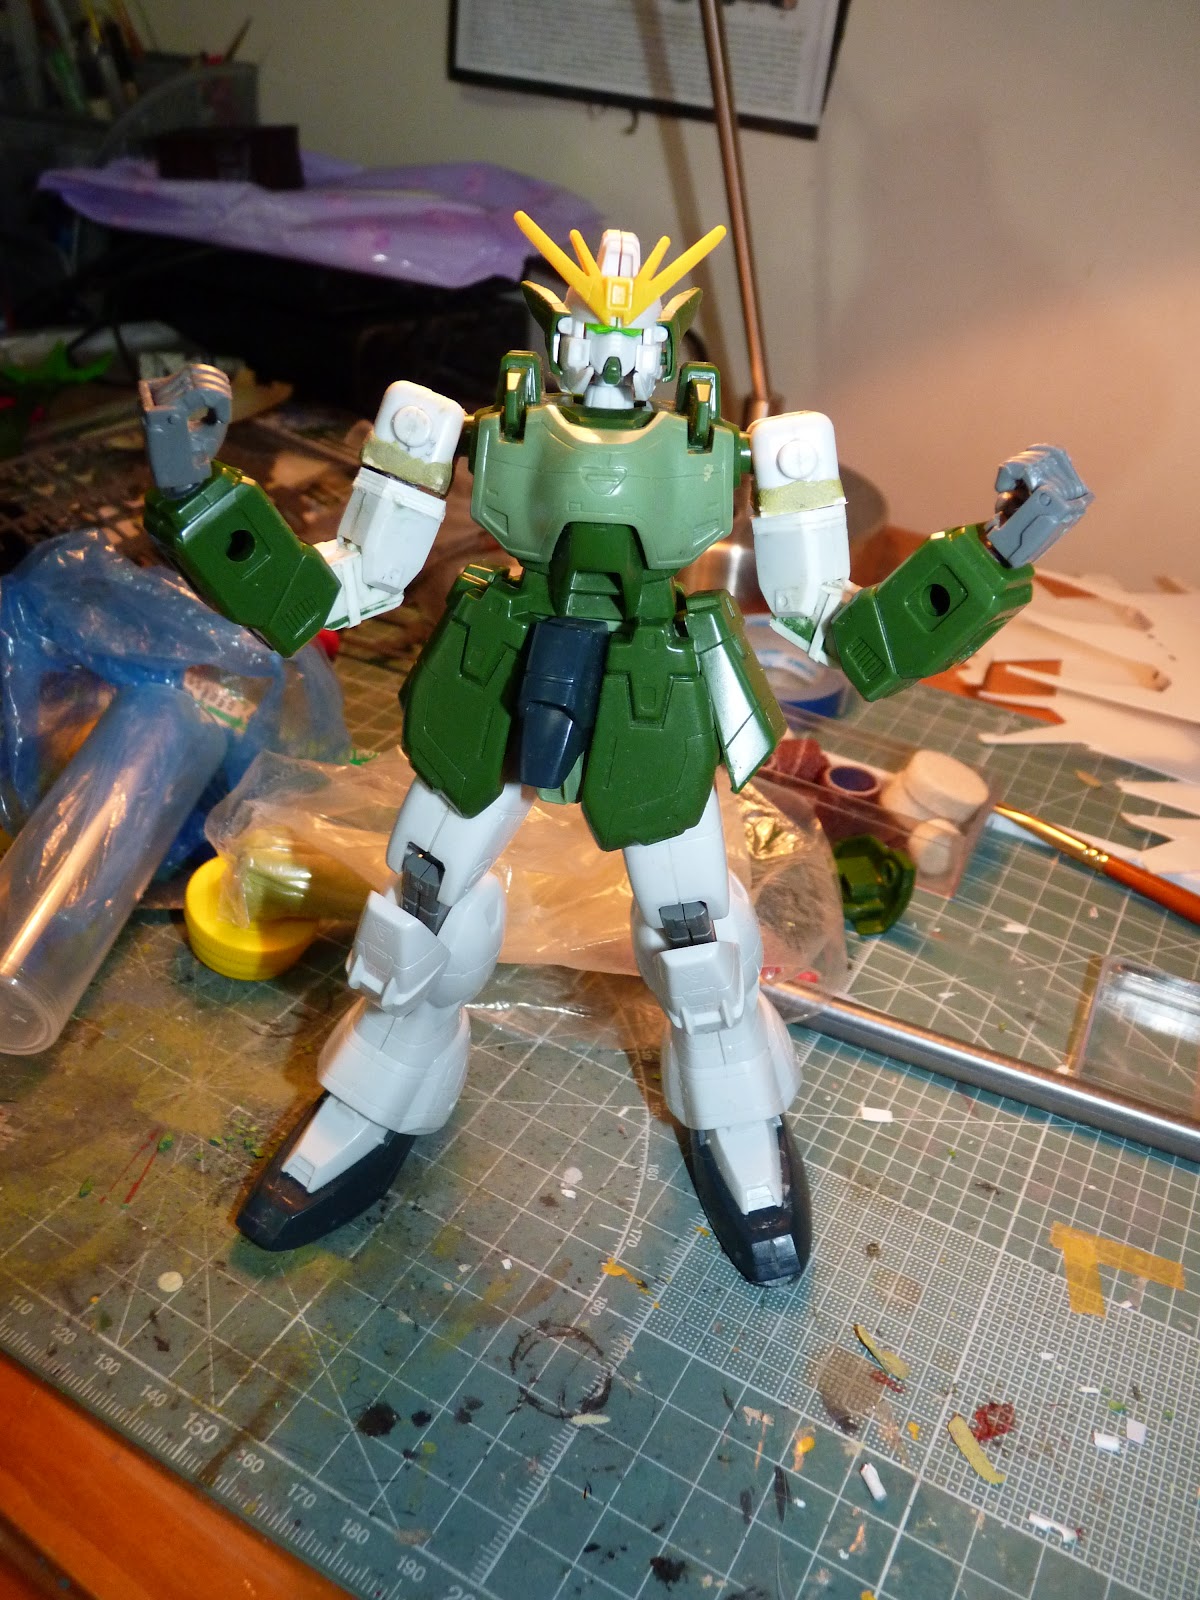
Obviously... the most prominent thing that calls out to be modded... ''The elbow''

as can be seen on the photos...

i plan to mod it into something like that .... so.. firstly, using blu-tack to determine how long do i have to make the elbow for it bend well like an MG...
after hours of aching eyes and sore fingers and trails and error .... this is how it turns out....which honestly put.. i am so satisfied... oh yeah

Rememdy for the back-ward bending comes in this form.. I bliv i used two peice of 1mm pla-plate, not sure.. , and make a '''Slab''' that would be glued on to the back of the elbow joint and stop the back ward bending...

backward bending problem solved :D and it was time for me to go to the upper arm rotation... the elbow joint look kinda plain and didn't like it so even put some pla plate on the joint to add some details.... i didn't had that much of a clear idea about how to mod the upper arms and i really had to reseach on that back then
After finalizing the research i was doing since 3 months ago...I decided to go with this plan :

I got too many sprues and too quite a lot of spare PC cups still avaiable so.. i kinda figure will go along with this...
Initial steps... I had to choose which size sprue to use and look for available PC cups.. and had to cut the sheets into 1x1 cm sqaures...
and that's what i came up with

after doing that... I did what you could see from the pic below.. again sorry for the blurry pic
I was so scared when i first started cutting the upper arms... I don't want to make a destroyed it and waste it

but lucky... after trails and experiments.... i fianlly got a good result...although i had to clean out the inside of arms of the pegs and everything for part B ''the female cup'' to be fitted... thin the inner pars with blades and put Part B in, glue it... put the arms together... glue it firmly.. and put in some pla pate to fill in the gap between the 1x1 CM square and the arm... Part A ''the male peg'' is, however, simply attached by gluing and the outside reinforced with putty..

two of these parts.... which will go in like so....... seeing those two working well is quite a relief... huu

I have to say.. I am really satisfied with how these came up.. .. and finally...... this is how my mods come out...

wufei will be so happy.... LOL
alright.. that's that... that's the arms done..... C&C are welcome.. but pls be gentle . :P ..this is my frist time serious modding and 1st WIP... so there might be mistake on my part...
P.S. I know the arms are long... They will be fix and you will see how they are fixed in the following posts to come.
Next update will be up in a few days..... Stay Tuned
0 comments:
Post a Comment