

not really that much to say either... just cutting and pasting plates onto the torso -
cut these two babies
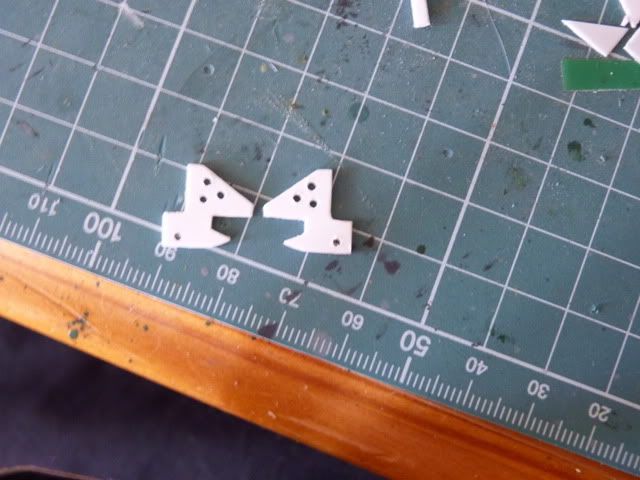
IT wasn't easy making them symentrical
and glueing them on like so -

of cos, naturally, they were glued on both sides
cut two pieces of plates and glued them like so -
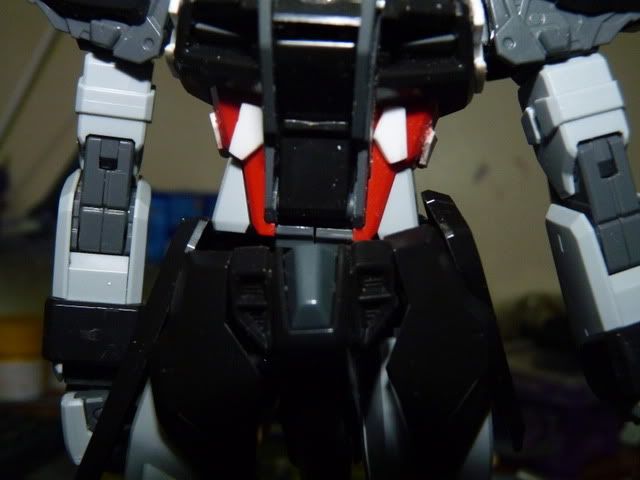
again, cut two pieces and glued them like so.. (these two pieces were much easier to cute)

and i wanted my noir to havea raised collar so extend the collar by stacking with small strips...

ႈ
And I thought i was gonna make this a relaxing build.. ha... ( turns out to be a big update .. :P )
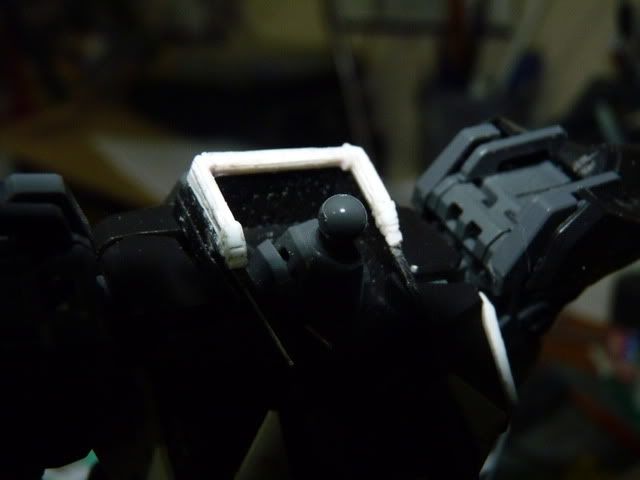
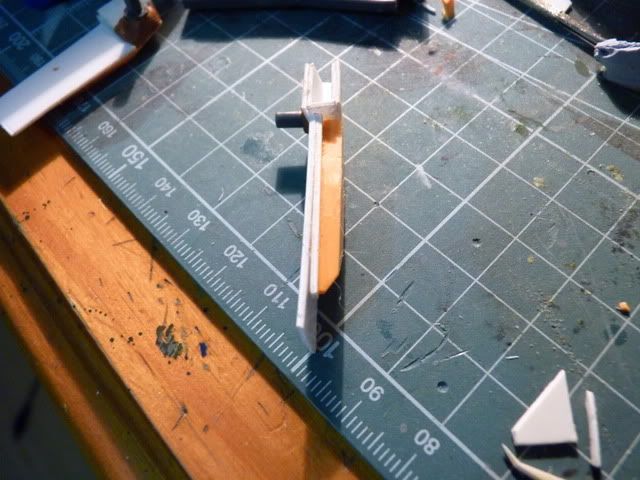
As you can see from this picture -
I made the white slot thingy that is going to hold ''something'' (won't say it now, read on ahead..
I do apologize as i forgot to take photos of that specific white slot part...
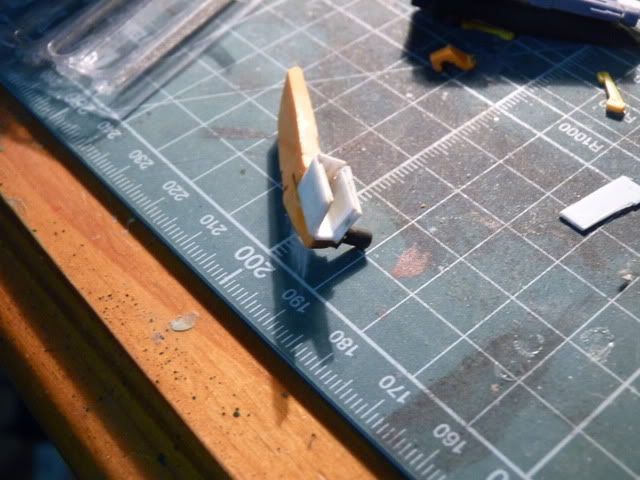
moving on.. that white part is attached to the recycled back skirt of the FG arios by means of glue and
as you can see from the picture -
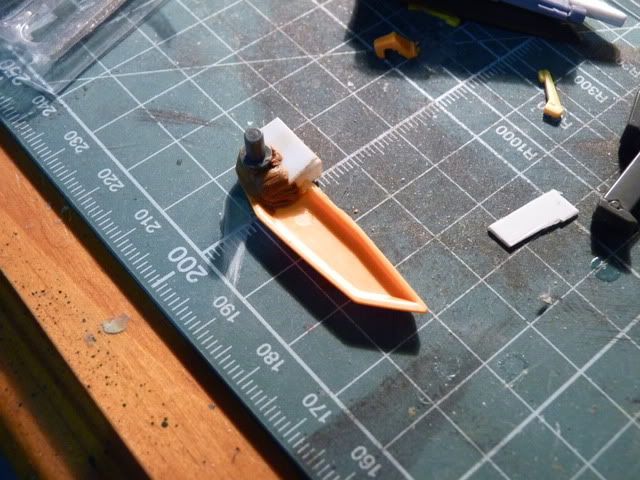
I put in some putty up there and I just put stick a ''double-peg'' that I recycled from the 1/144 Aegis... That is of cos, for this specif whole part to go into some where...
Afterward, I glued a plate onto that orange part like so -

still not happy with it and glued on another plate like so -
Was happy with that.. so i moved on to the guns that i wanted to mod -

That is how much i have cut up the gun... the orginal gun is just too awful... just aweful... cut up the stupid barrel and reduced the gun in length... Still need to make a new barrell and front section for each gun...and I think the handle and the bottom part is really really bare.. Can somebody advise me what to put in there?? thanks in advance
noticed that raised rear butt ( don't get me wrong, that's how it is actually called on a gun)???? That raised butt is for to acheive this gimmick -

that's done.... I just need some more details and to bulk up the orange parts and lengthen them ( maybe )
And after looking back at the kit and much consideration, I went with this configuration...

As usual, thank you for your support and Stay Tuned for More to come
0 comments:
Post a Comment