ok.. on to the update ..
I cut those identical pieces like you see in this picture ....
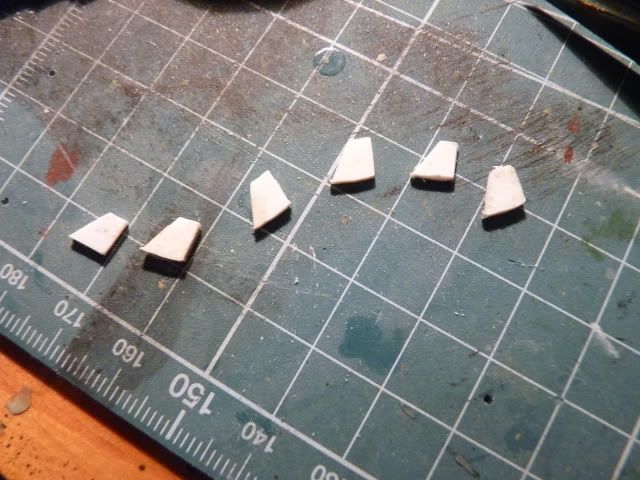
those parts are to be used as girders ... as support for the skirts to take shape....
they are glued on like so ..
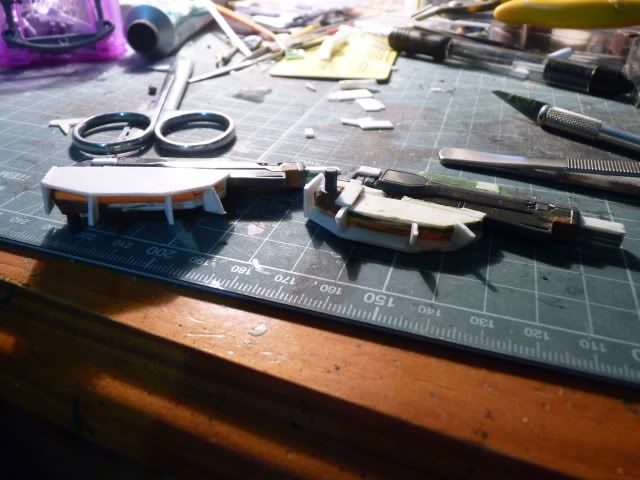
which in turn... closed off with plates like so ..

(not really my best works but it will do fine.. for now )
then i moved on to the feet ...
1st step - cut those teeny tiny pieces... ( it was hell )
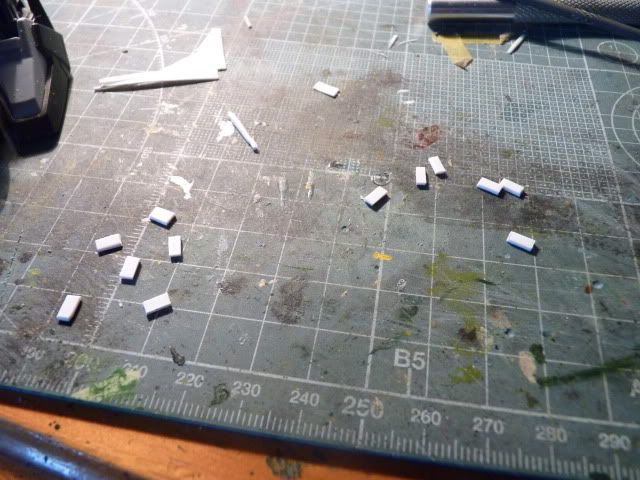
2nd step - glued them on to the front of the feet like so in the picture ...
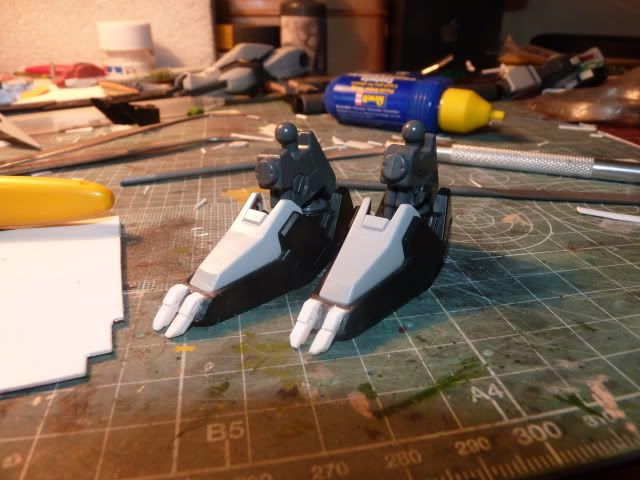
those things are angled.....
3rd step - glue another piece of angled plate on the side
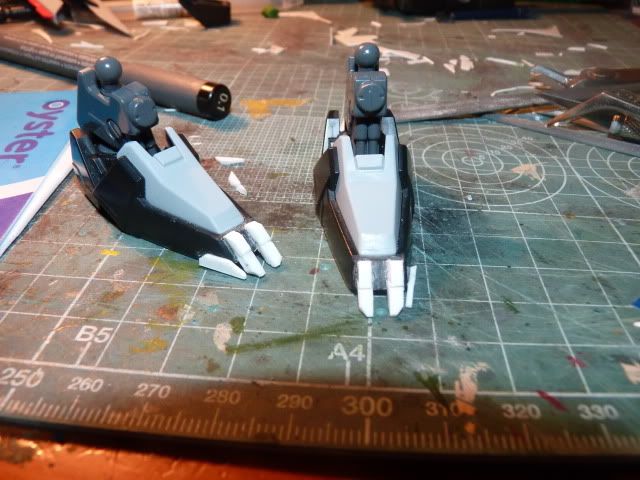
those were done to give the feet talons ( hence the name Raven )

right moving on... last update, you guys saw the integration of the front part of the booster... this time, its the back of the booster... which you can see from here ..
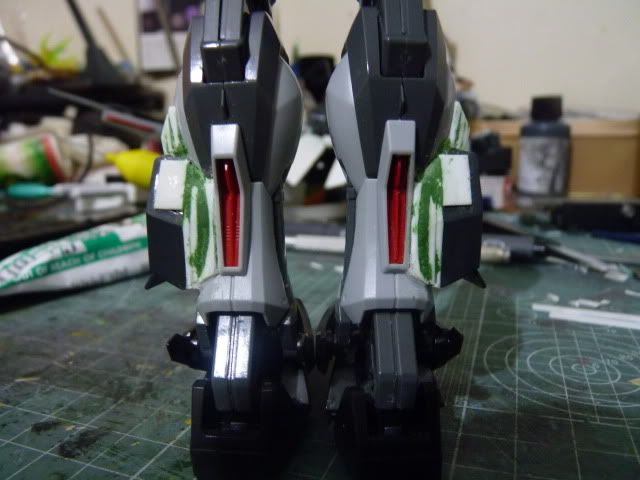
not really top notch work like the masters here but im happy with that i got... just need some clean up
and this picture -
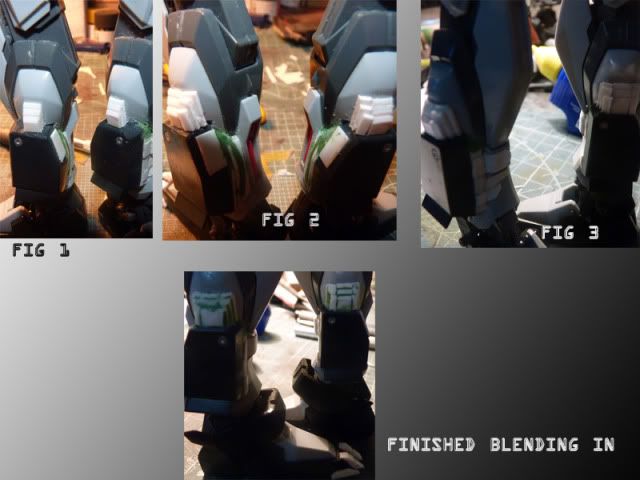
shows the step by step of how i used my ''shaping-by-stacking'' to make some parts for the booster to blend in with the over all kit...
in figure 1, you will see that i started with the middle section...
in figure 2, you will see that i stacked a stair case ... that will of course be sanded down .
in figure 3, you will see i stacked another stair case... the first being sanded down to give a slope..
in the finished product, you will see some green stuff as i used putty to fill in the gaps and to have a nice slope/angled parts much akin to the Mk.II
and this is more or less what i got after a day of work on this baby... apart from the side skirts being bulky. i love this ....
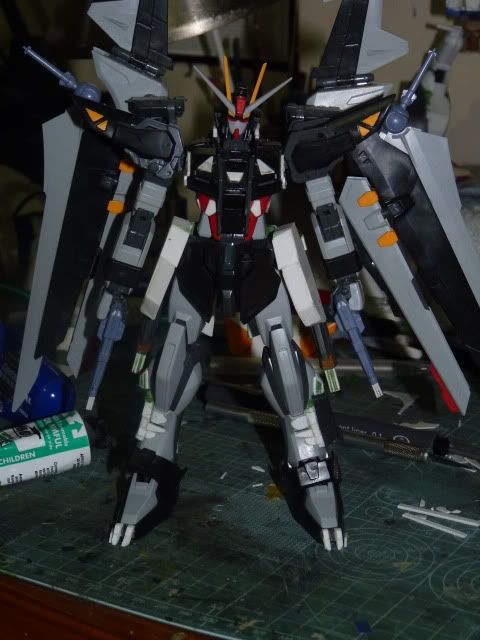
i may end up making the side skirts thinner again.. but im not sure... anyway.. fingers crossed
Stay Tuned for more... and thank you very much


0 comments:
Post a Comment