

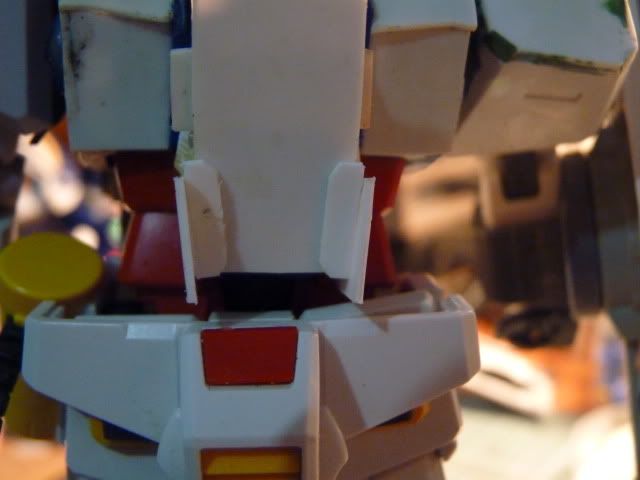
Right, Step 1, As you all know (if you don't pls refer to the compare pic on the first page ), That tummy armour is just like that guy is bloated and with a big big tummy so, I had to improvise, try to make it look more Macho-man-big big .. u know .. So started out my sawing off like you see in the photos
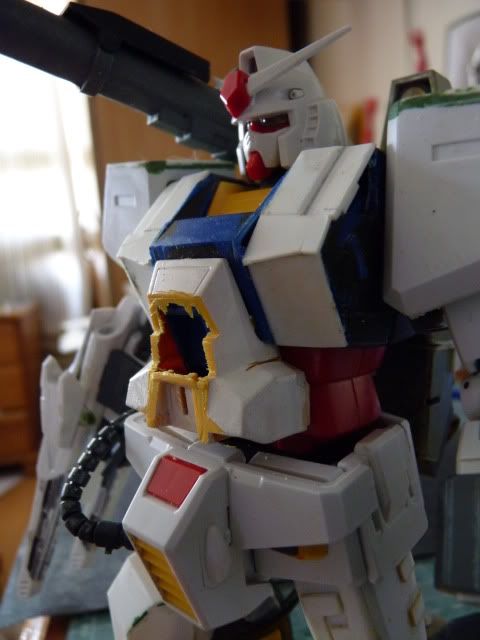
In step two, I wanted make a whole redesign so I had to cut it off like so
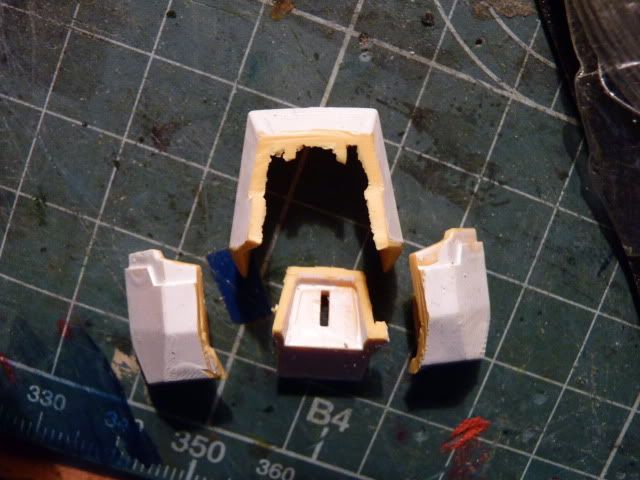
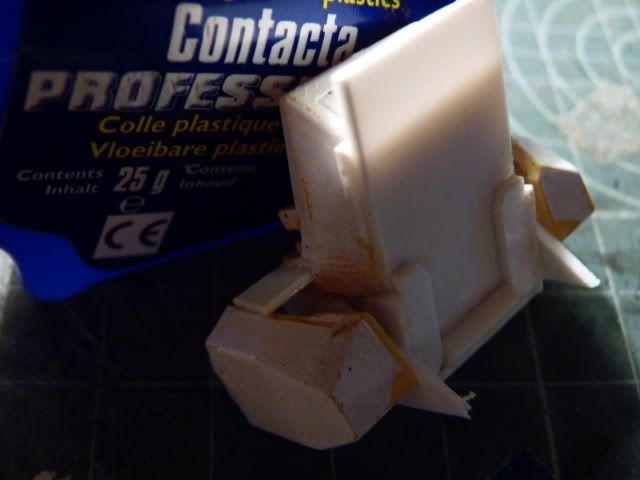
Step 3 - redesigning start by plating as you see in the picture
Step 4 -after that, I need to see how it looks so I stuck ''Step 3'' onto the armour and found what i needed to do and Stuck two plates on the side
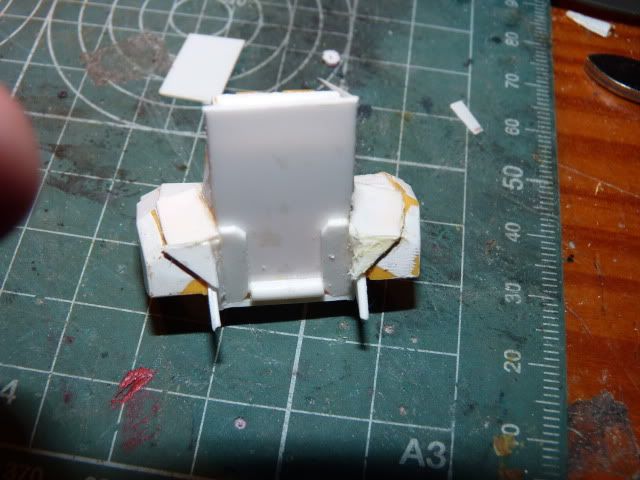
Step 5 - When i stuck on the two plates in step 4, something happened and there was a little bit of gap between the side plates and the core plate and As i didn't want to mess it up, I mprovised by sticking those two little things that you see now that also serve as details
Step 6 - The bottom of the tummy armour was just hollow and nothing was on it so I put on the bottom plate to closed it off

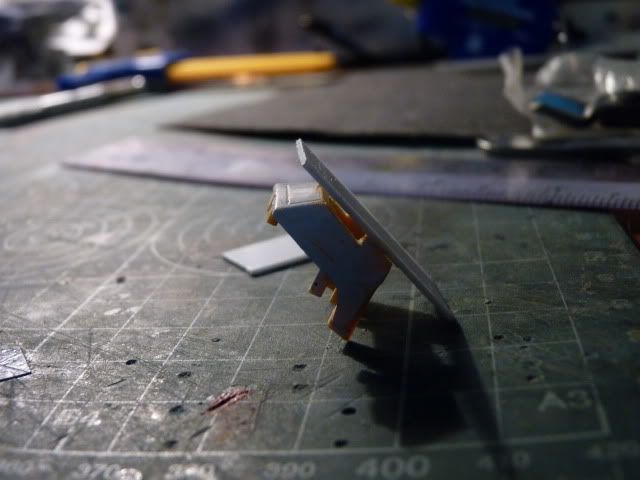
Step 7 - I didn't really like the way that middle area is looking and I thought it was bare so I used a rod and put it there .. just for detailing effect.
And I also glued two more plates to attach the ''cup''' that allow the power cable from the waist to go in

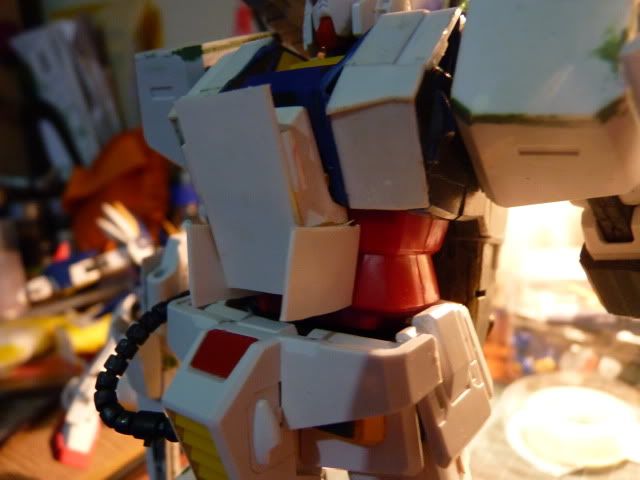
Step 8 - as you can see in the photos, I attach the Cup joint onto the whole armour ... and if you could refer back to Step 2, you will see that i sawed it off and had a gaping whole because of the orginal design... Thus, I started closing that hole ....
Step 9 - After closing the hole like you see in step 8, I further closed that up like so as you can see in this step
And I got this overAll look,, still not finished yet,, got alot alot to do...
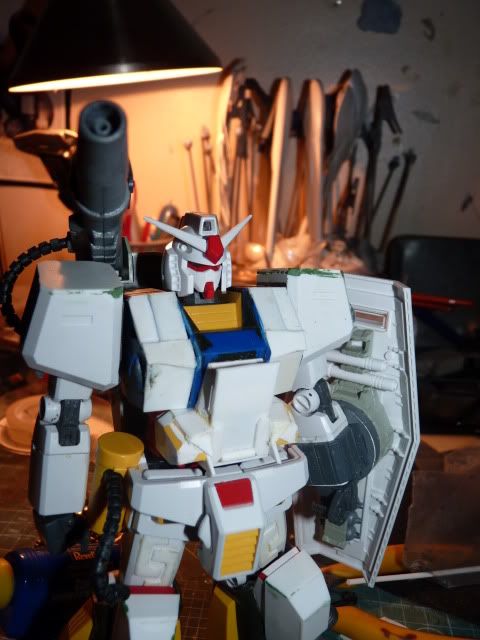
Spent 10 hour on this one.. but i love it ..... love it ... and my kinda promise of making this a clean and tidy build... i was just tired and didn't actually want to shoot picture after tidying up .. so i just slap them on like so.. hope you guys don't mind ...
Thanks for reading... stay tuned.
I like it, still you have a lot of job to do...keep it up!
ReplyDelete