

I name this ''Stacked Stairs'' method as it involves stacking plate and making a stair with those plates. Imagine a 4 or 3 sided pyramid, and imaging trying to scratch build one. Your option is pretty much using putty cos making such shape with plates is hard, as you need to measure carefully the exact size, the exact angles, and duplicate up to 4,5 plates to achieved a perfect symmetry pyramid. But the problems doesn't stop as when you glue those pieces, the inside will be hollow; I guess this picture should help explain things -
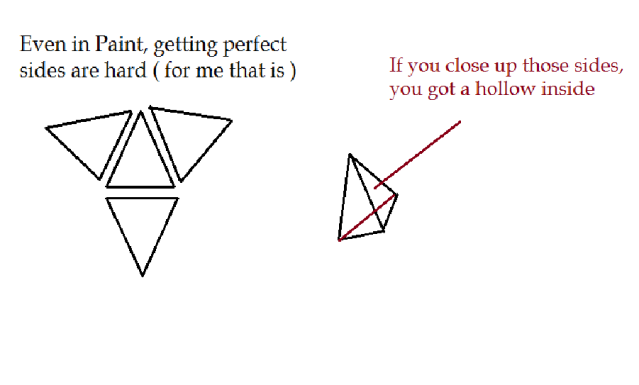
And trust me, you don't want a hollow object with low structural integrity, you literally can't do anything with it as it will keep breaking with force. Now, with stacking plates together, both shape and integrity can be achieved.
I will, firstly, be explaining on a simple 2D slope..
Picture any slope you want to do... simple slope, (inclined surfaces)... if you got it then cut to desire shapes
Me, i will be working with this ..

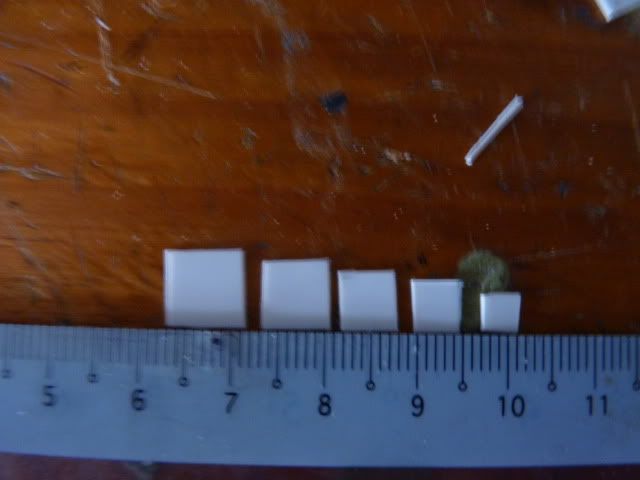
make sure to cut the pieces progressively smaller.. the actual length on how much to cut is of course, up to you.
And don't forget that depending on the angle you want, you might want to watch out how much you want to make them progressively shorter.
For example, you start with say, 10 mm, then you make the 2nd 9mm, and progressively cutting off 1mm with each plate, you will get a pretty steep slope.
Again, say you start with 10mm, and you take off 2-3 mm with each plates,, you will get a pretty inclined plate.
Precise measurement is preferable but not really crucial.
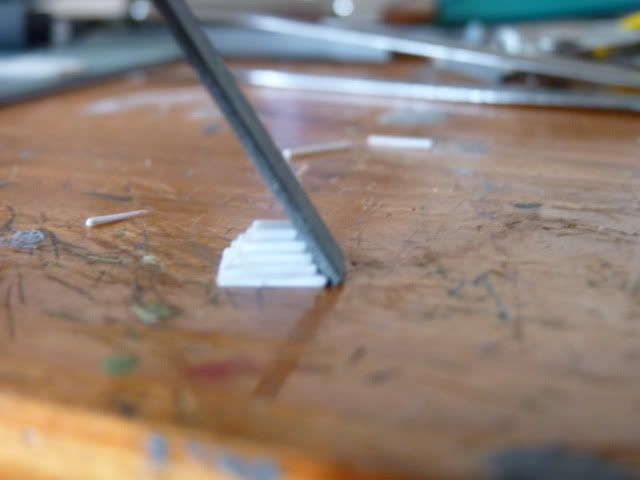
Ok, once you are happy with the size and length, stack them like so
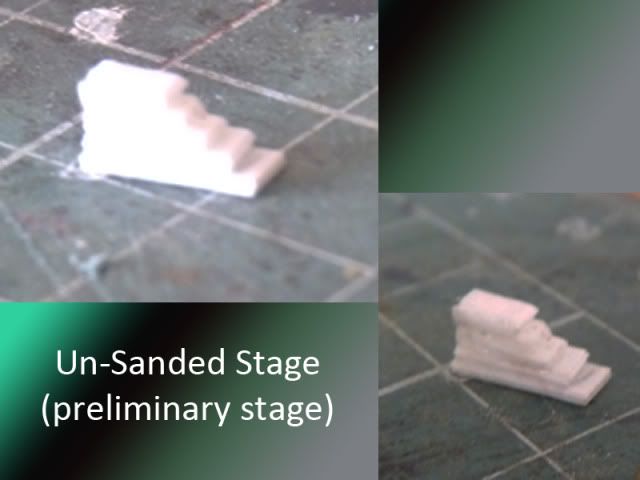
this is a simple Slope if you can stack with the other side uniforn, you will get a pretty nice slope...
next, sanding...
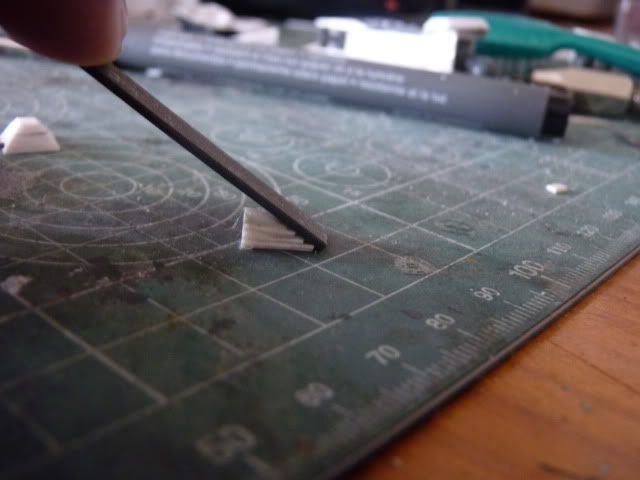
besure to sand it down according to the angle you stacked...
and sand it .. and you will get something like this
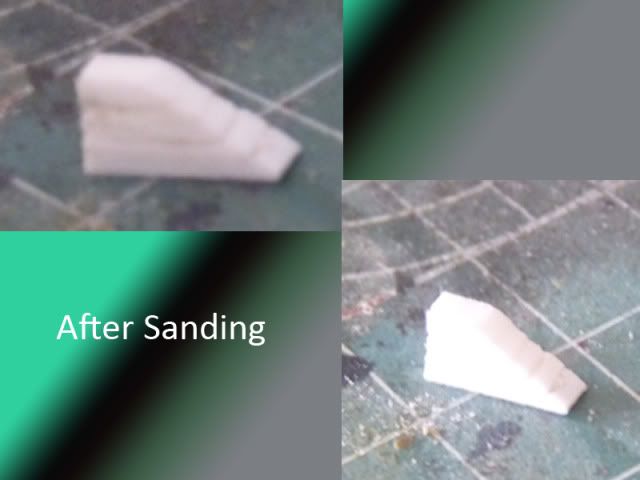
of cos, being humans, we will have errors.
But those can be easily fixed by filling with puttin and sanded down for the putty to blend it should be fine.
that's how i got the shoulders of my Nataku..
Pictured here
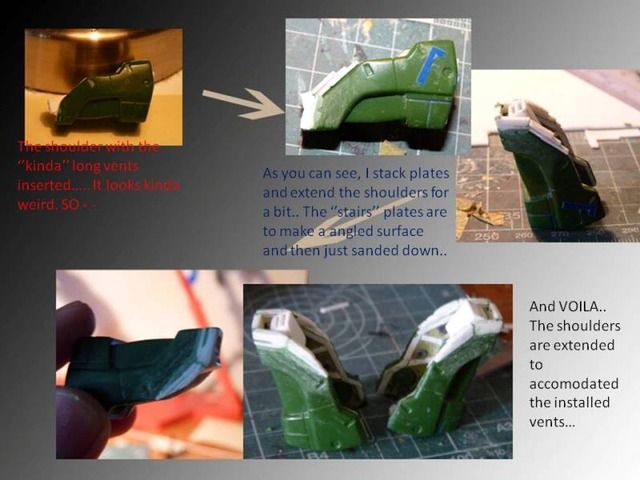
right that's the simple slope covered.. next, i want to talk about a pyramid shape..
same steps... but you might want to be more precise with the measurement..
i started off with 1x1 cm
now since this is a pyramid, you would want the smaller pieces to sit directly in the middle of the bigger one
Pictured here like so .
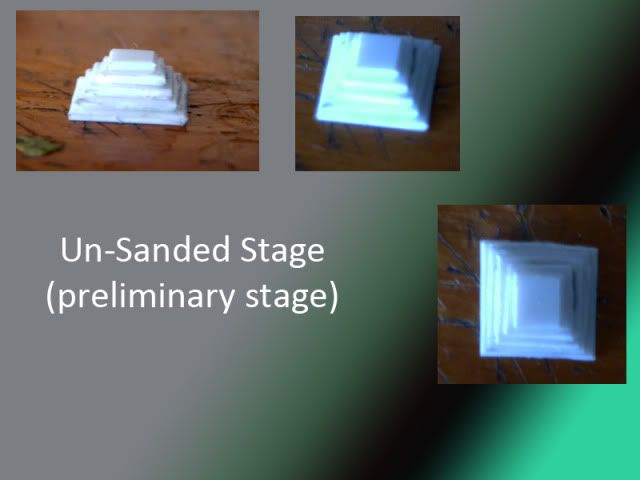
right the usual, sand
and after sanding you will get this ..
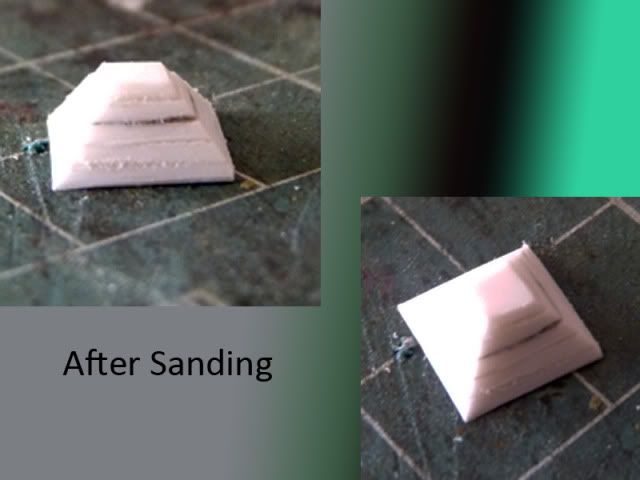
again, check for error and filll with putty if needed....
well, that's that... I don't know how effective this will be with other but this works wonder for me. This is part 1 and I have covered simple slope and a basic 4 sided pyramid and in part 2, I will be covering more faceted shapes. Thanks for reading and Stay Tuned.
Cool stuff, Thanks for showing this.
ReplyDeleteYeah this is really a good tutorial for us beginners... i hope there's a part 2 dude XD
ReplyDeleteYeah this is really a good tutorial for us beginners... i hope there's a part 2 dude XD
ReplyDelete